Landscaping Trends: Permeable Pavers

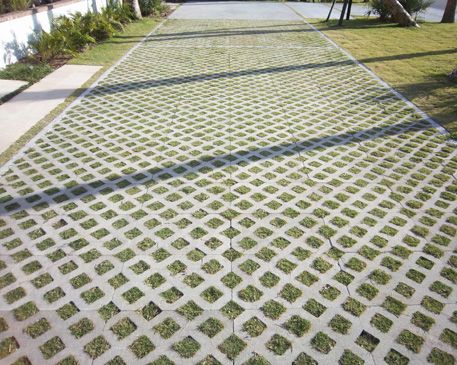
An excellent option for homeowners concerned with sustainability and water conservation are permeable pavers.  Permeable pavers allow water to pass through small openings and re-enter the ground water. There are a variety of permeable materials that offer the best of both worlds: a porous patio or driveway surface that is also very attractive.

Permeable Paver Benefits:

  • Manage storm-water
  • Prevent runoff and pollution
  • Replenish the groundwater supply
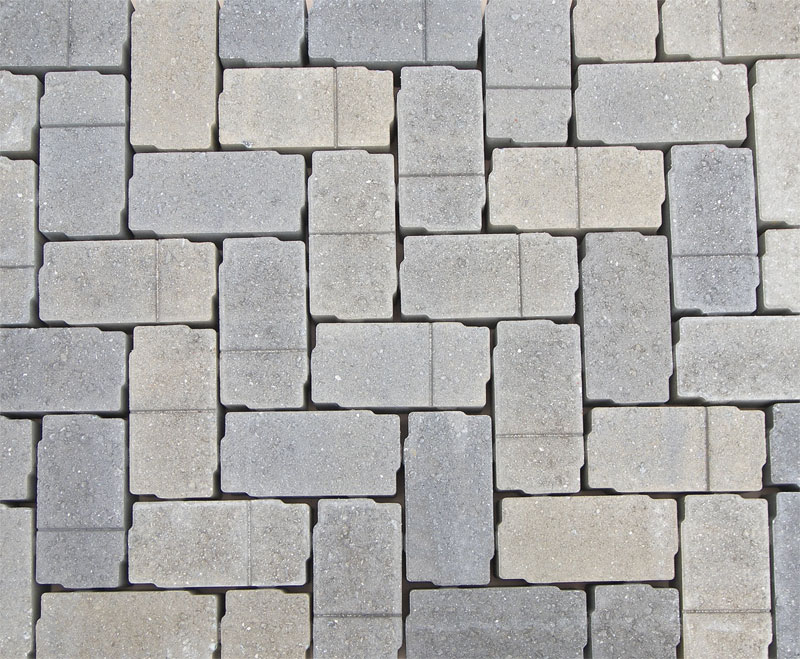
  • Many unique permeable design options

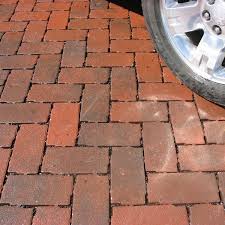
Permeable paving is not a new concept – hundreds, possibly even thousands of years ago, people were making roads and paths by setting stones in sand. Many of these ancient creations have survived to present day, proving that permeable pavements are strong and durable. However, during the 20th Century’s rapid development impervious pavements became the norm.

With the recent push towards sustainability and the concern over the water supply eco-minded people have begun to challenge this norm. Many homeowners are looking to create sustainable landscapes and permeable paving helps achieve that goal. In fact as an incentive, many cities, especially here in California, are offering sustainable landscaping rebates. As we hear about water shortages and increased levels of pollution, the benefits of installing a patio, path or driveway that allows rainwater to filter through to the earth below are very appealing.

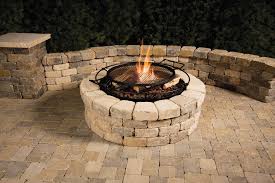
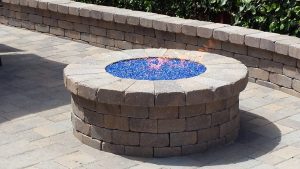
Paving stones are very popular landscaping elements. They are versatile and can be used in almost any outdoor setting. You can choose between stone, brick and concrete pavers and they all are strong and durable too.

Today, people are becoming very environment conscious and when they get any home improvement or landscaping work done; they look for environment friendly solutions that will also benefit their landscaping. In this respect permeable pavers are an excellent option.

What Are They?

  • They are made from a mix of sustainable building materials
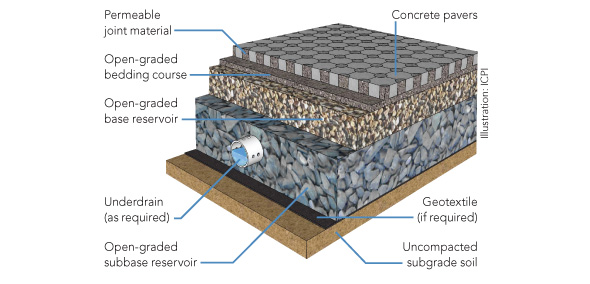
  • They have a base & a sub-base, both of which allow runoff water to seep through into the ground underneath
  • When you use only normal pavers or have concrete outdoor flooring, the water is unable to seep through and it just gets diverted towards the storm water drains which is nothing but a waste of water
  • Contrastingly, this porous paving permits rain water and the water that you hose onto it, into the ground
  • This helps replenish the levels of ground water
  • These paving stones also filter the dust and pollutants from the water and there is no contamination of the groundwater
  • Today, these installations are becoming popular on residential and commercial properties

Who do we sell?

Every major paver manufacturer makes a line of permeable pavers.  We work with:


Backyard Trends: Fire Pits


Let’s talk about Trends for 2017.  Talking to contractor clients, landscape architect and designers, we are seeing that home owners are looking for Complete Outdoor Living Areas.  Although this isn’t a completely new fad, more people are looking to add value to their homes while at the same time extending living or entertaining spaces to the back yard.

These outdoor living areas can range from whole outdoor kitchens and entertainment centers, to a barbecue or poolside bar area.  And can run you upwards of $50,000 or more.

Do you have an area of the back yard that you’ve been contemplating turning into an Outdoor Living Space?

Want to build a comfortable seating area, that will serve as a great place to entertain?

Why not build a fire pit?

If you take on this project yourself, you could spend closer to $500 if you have the patience and are willing to use some elbow grease. Building a fire pit can be an easy project, whether you are a weekend DIYer or this is the one and only time you’ll ever work in the back yard, we are confident you can get it done!

For our first blog post we will show you how to put a fire pit together.  I don’t have any photos of the process, but I will show you a few different prefabricated fire pit options from local suppliers, including Belgard, Olsen, Orco and Angelus Pavers.

HOW TO BUILD A FIREPIT

Materials used:

  • Pick your block.  There are a lot of options when it comes to fire pit blocks. Here are a few of the brands and styles we work with:

Angelus Planter Wall Blocks

Belgard Country Manor Fire Pit Kit

Belgard Weston Fire Pit Kit

Olsen Infinity Fire Pit Kit

Orco Keystone Country Manor

Orco Jumbo Nursery Stone

Instructions.
1.  Check on your city and local codes and restrictions to find out what is required for a fire pit.
2.  Chose an open spot, 10 to 20 feet away from trees, bushes, grass and other flammable items.
3.  If building in none paved area, use rake and or shovel to clear out grass and debris and smooth out fire pit area. If on paved area, just make sure the area is clean and hopefully leveled.
4. By now you have already picked the shape of your pit.  If you plan to create a circular pit, you might want to mark out the area first using a measuring tape and marking the ground with spray paint.  (Have someone stand in the center of the fire pit area with the end of a measuring tape and the 2nd person can walk around at the desired measurement and mark the ground in a circle.)
5. Lay out your first layer of retaining wall bock directly on the ground.
6.  Dig out about 4 to 6 inches of dirt from inside the fire pit circle.  (You may need to dig out more or less depending on your local code.)
7.  Stack the second and third layer of retaining wall block.  Fill the bottom of the fire pit with  4 to 6 inches of decomposed granite, sand or pea gravel. Use a brush to clean debris from the surface of the previous layer. Overlap the layers of stone, leaving three or four random gaps between stones in every course. The gaps allow the fire to draw air into itself. We dry-stacked the stone. They may get out of alignment, but realignment is easy.
8.  Add the 4th row of retaining wall block.  You may chose to glue the 4th row to the third row with landscape retaining wall adhesive.  If you do this, just follow the directions for the adhesive.
9.  If creating a seating area, add the rest of your gravel, back filling around the fire pit.  Smooth out, add chairs, outdoor string lights and enjoy!